Tips for Creating Curved Concrete Block Edges That Stay in Place
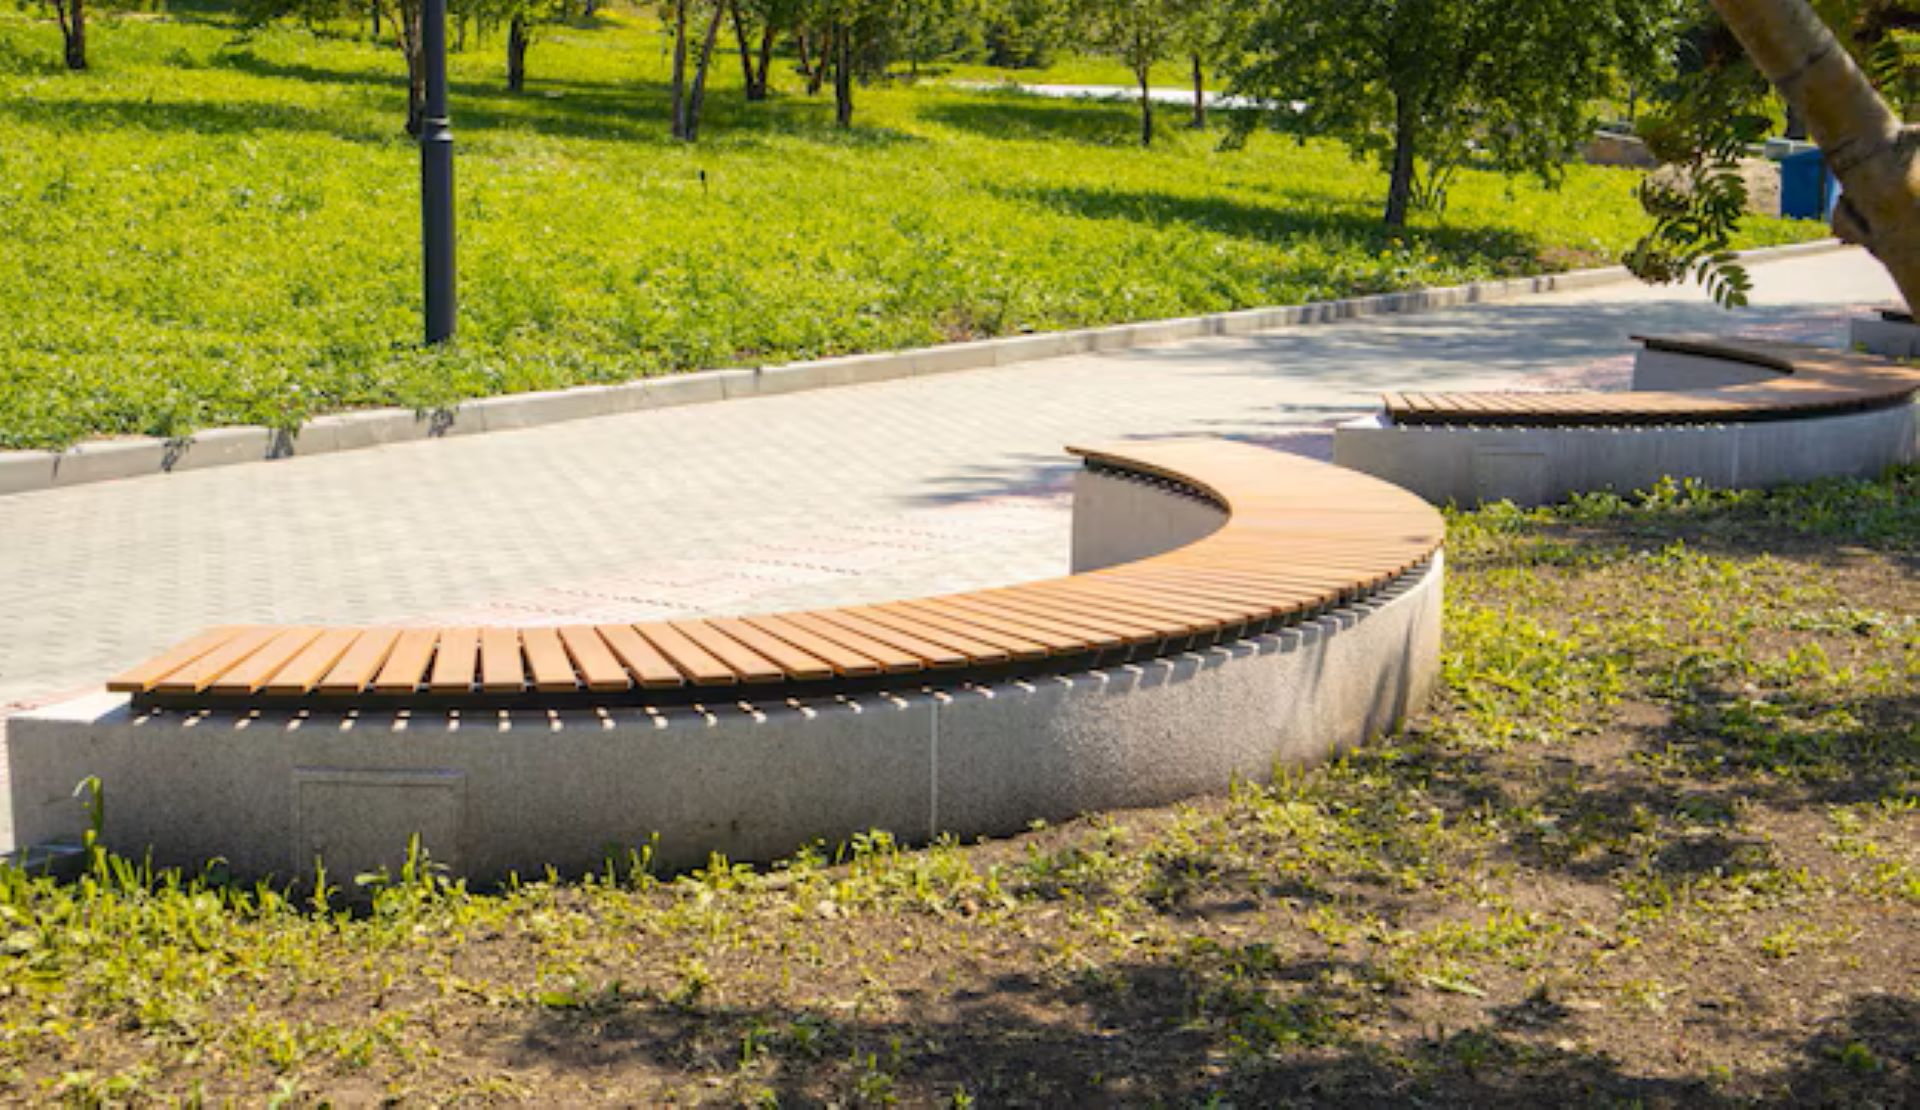
Early spring is a perfect time to take on outdoor upgrades, especially as the daylight sticks around longer. With the wetter part of the season fading away, it becomes easier to dig, build, and shape spaces that have been on hold since fall. If you’re thinking about building or reworking your edging this year, curved concrete block borders are a smart choice. They help soften tight corners and add movement to a space, but keeping them in place takes a little extra care. At our yard in Jurupa Valley, California, we keep job-ready materials such as concrete blocks, pavers, and edging supplies in stock for both homeowners and contractors.
If curves start to separate or shift over time, it can throw off the look and make upkeep harder. So, getting it right from the beginning matters. Whether you’ve got a simple flower bed or a wider path you want to frame, planning ahead makes a big difference in how long your design holds up. Let’s go through how to prep and build curved borders that hold their shape and don’t shift out of place after a few months.
Planning the Layout Before You Start
Before any digging starts, it helps to lay out the curve you want. Measuring and adjusting the shape on the surface lets you test where a curve works best without committing to a trench just yet. There are a few easy ways to sketch out curved lines first:
- Use a garden hose to shape the edge and adjust until it feels right
- Spray chalk or string lines can give a clear visual for fine tuning
- Walk the area and see where the natural curves feel smooth and balanced
Once the layout feels solid, check the ground. If the soil is too soft, slopes away in odd directions, or feels uneven, you might need to grade or pack down the area a bit. Taking time here cuts down on the chances of your curved blocks drifting as things settle.
Preparing a Stable Base for Long-Term Hold
The base does most of the long-term work when it comes to keeping things in place. Curved lines rely on extra stability since pressure from shifting soil tends to push corners more than straight edges. For this step, many builders rely on materials like gravel, road base, and sand, which we stock for landscape and construction projects. Here’s how we usually get the base ready:
- Dig your trench so it’s even and deep enough to hold at least four inches of compacted gravel
- Keep the trench level side to side and along the path of the curve
- Lay crushed gravel or road base, then compact it tight before placing any concrete blocks
A curved concrete block edge will only work well if it’s supported from below. Gaps, soft spots, or uneven layers can cause sections to sink or tip. Make sure your base is solid and everything you place on top has the same strong support.
Placing the First Row to Lock Your Shape
The first row is the most important part of building curved edges. Once it’s set, the rest tends to fall into line. If the shape starts off balanced and secure, it will help guide the whole border. Keep a few points in mind when setting the first course:
- Press each block firmly into place, checking that there are no wide gaps or wobbles
- If the curve is tight, you may need to shave or cut the ends of blocks to keep the line smooth
- Try to keep a slight lean inward if the blocks will be holding back soil
Every few blocks, step back and look at the shape. Changes are easier now than later. Taking the time here helps avoid a ripple effect of small errors ruining the curve further down the line.
Securing the Edges with Sand and Bonding Agent
Once the blocks are in place, you can use joint sand and adhesive to seal the structure and hold the curve over time. This step is often skipped on small builds but makes a big difference after the first few rains roll through. To help your edging stay tight:
- Brush polymeric joint sand into the spaces between blocks to prevent shifting
- Apply block adhesive on curved areas where there’s added force from nearby soil
- Clear off loose sand before spraying and letting it set
Give it time to cure before walking on new borders or placing extra pressure nearby. Once dry, those small joints and bonds help carry the load and reduce movement as seasons change.
Built to Last: Keeping Your Borders Tight Through the Seasons
Curved blocks usually hold up better when placed in spring since the weather is mild and rain helps settle the base naturally. In Southern California, early spring brings enough moisture for a steady cure and fewer surprises during construction. To keep border edges holding after they’re built:
- Check once a season for high spots, pooling water, or soft soil patches nearby
- Sweep joint sand back into open gaps if the area gets heavy foot traffic
- If blocks shift slightly, reconnect or rebond them before the movement spreads
Don’t skip those one-minute seasonal checks. Most of the time, a small fix now stops a big repair next year.
Make Your Curves Work Harder All Year
Well-laid curved concrete block edges don’t just look nice, they save time in the long run. They’re less likely to pop out, crack, or shift if the prep was done right. Spending a little more focus on the shape, ground prep, and finishes goes a long way. We’ve seen that solid prep and good placement keep things tight through every kind of weather, even when soil expands or settles. Curved borders should work as hard as straight ones. Getting them right early means fewer touch-ups and better use of time when you’d rather be planting instead of re-edging.
Planning a spring project starts with careful material selection and proper preparation. When a curved line needs to hold its shape through weather and foot traffic, every step counts from the base to the final joint. Our experience with various types of edging has taught us that attention to detail during the build makes all the difference. For help choosing tools or materials that fit your specific space, visit us or check out our tips on building with a curved concrete block. Reach out to Mr. Pavers today to get started on your next outdoor project.


