Effective Gravel Mix Solutions For Pathways
A gravel pathway can shape the look and feel of your yard without needing a full overhaul. From relaxed garden paths to clean walkway borders, gravel offers a natural texture that works with many landscaping styles. It’s budget-friendly, easy to maintain, and gives you room to get creative with how your pathway looks and flows. But the results mostly depend on what kind of gravel mix you use and whether it’s the right match for the job.
Picking the right gravel mix isn’t just about looks. Some types are built to last, while others might shift around too much or break down too fast under regular foot traffic. A smart choice here makes your pathway feel good to walk on and stay firm without needing constant fixes. Whether you’re planning a straight trail through the yard or a curve through your garden, the type of gravel you use can make or break the final result.
Types of Gravel Mix for Pathways
There’s a wide range of gravel types out there, but not all of them work well for pathways. Each mix has its own texture, strength, and overall feel. Some are better for walking paths, while others suit decorative borders or low-traffic spots. Here are a few popular types and what to know about each:
1. Pea Gravel
This small, round stone gets its name from its size, similar to that of a green pea. It’s smooth underfoot, which makes it comfortable to walk on.
– Pros: Nice to walk on, great for curves and flowing lines
– Cons: Moves around easily, especially on slopes or in high-traffic areas
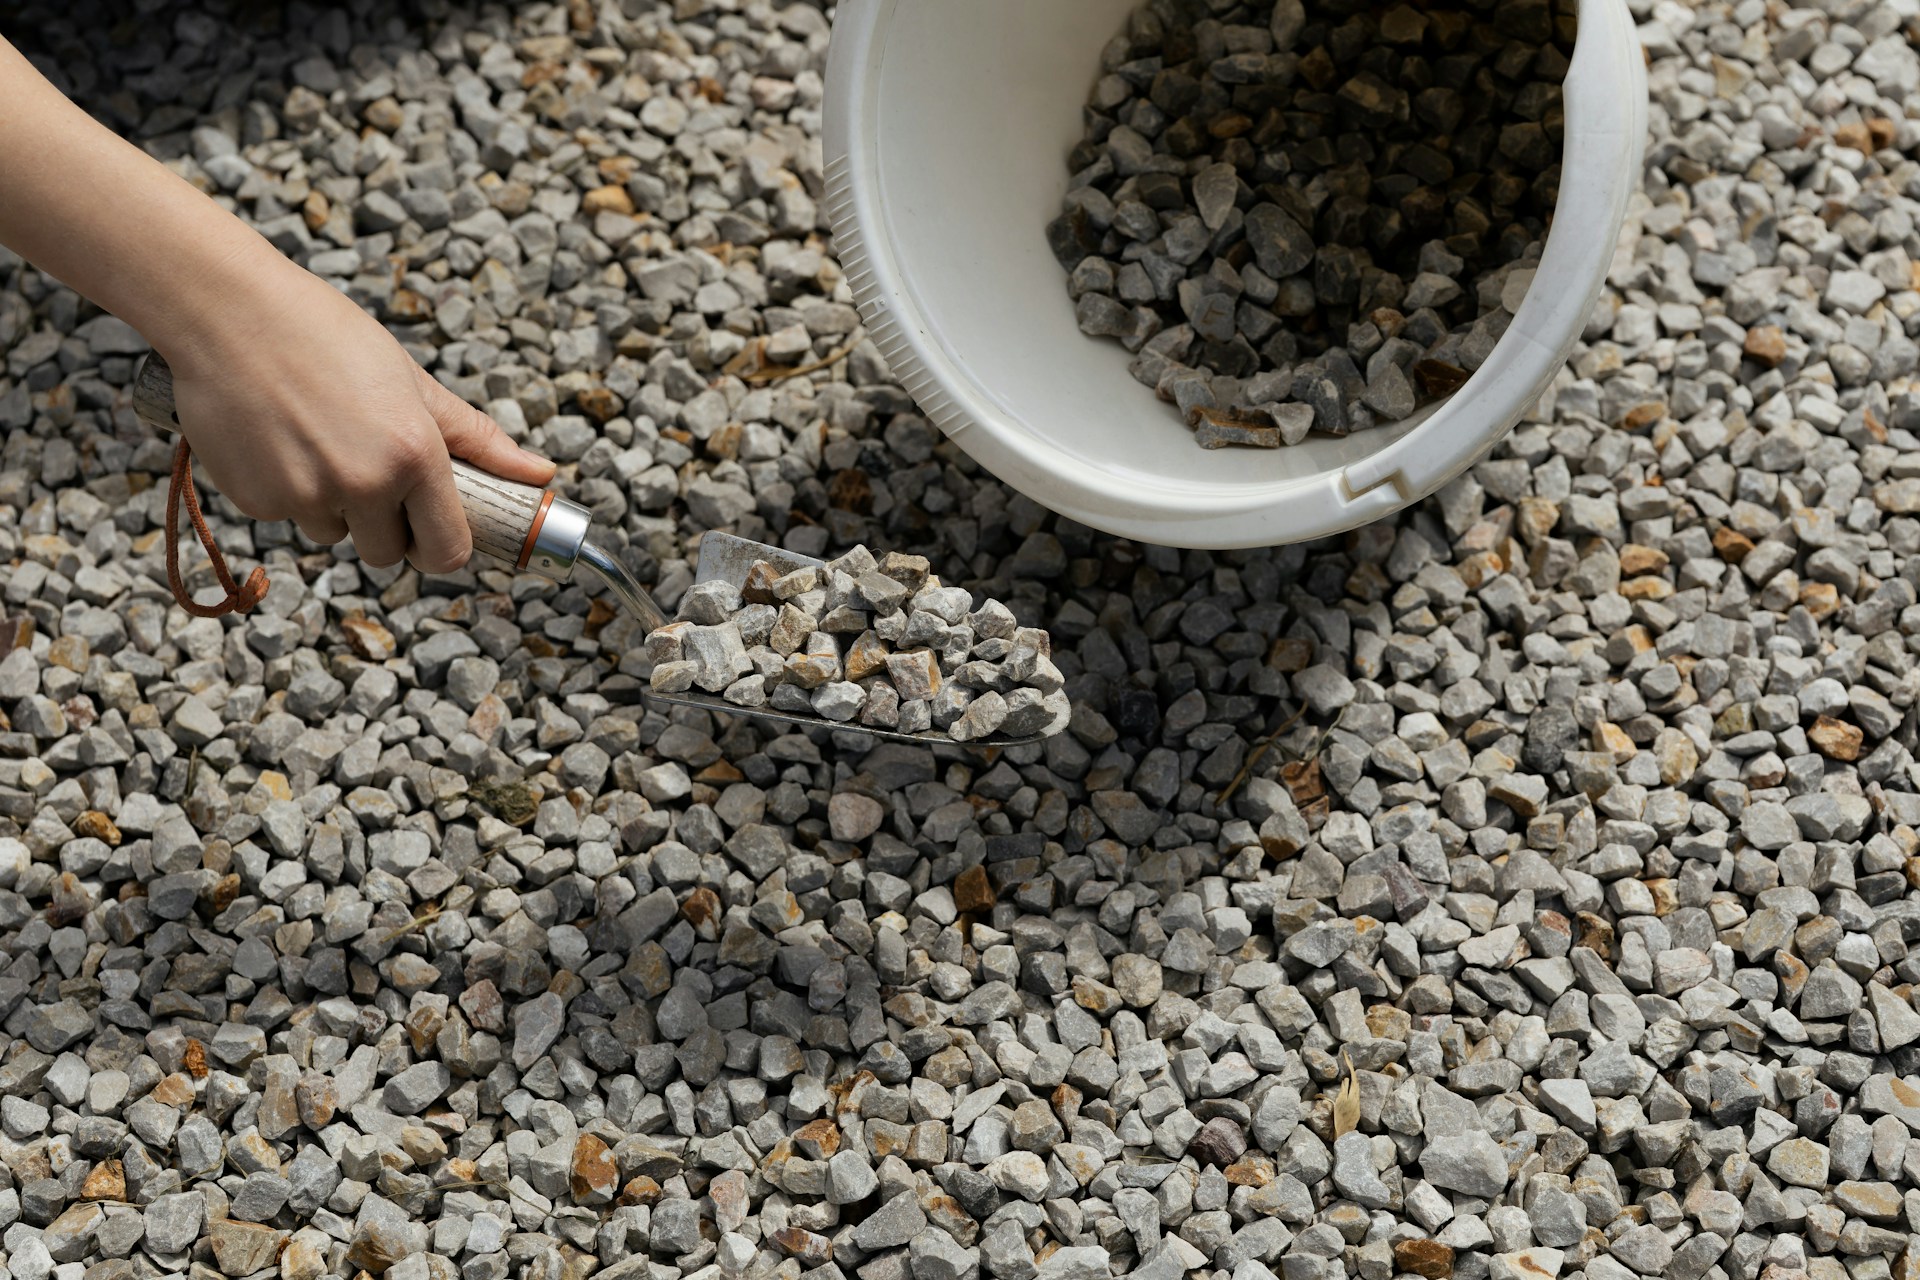
2. Crushed Stone
Unlike pea gravel, crushed stone is angular and made by breaking down larger rocks. This shape helps it lock together better.
– Pros: Stays in place well, solid surface for firm walkways
– Cons: Can feel rough under bare feet
3. Decomposed Granite (DG)
DG comes from weathered granite that crumbles down into smaller pieces. It packs down well and has a smooth, natural appearance.
– Pros: Firm, compact surface, clean visual finish
– Cons: Can erode or wash away during heavy rain unless edged or sealed
4. Gravel with Fines
These are blends of small rocks and fine materials like dust or sand. They create a sturdy surface while still allowing water to drain.
– Pros: Great for high-use paths, stable and easy to maintain
– Cons: Can become dusty in dry weather, may need occasional top-offs
Let’s say someone picks pea gravel for a backyard path because they like the look. After a month, they’re constantly sweeping it back into place. That problem can be avoided by choosing a sturdier type like decomposed granite or crushed stone, which is better suited for frequent use.
The right mix depends on where the path will go, how often it’s used, and the final look you want. Giving it some thought now can save you time and upkeep later.
Choosing the Right Gravel Mix
Picking a gravel mix isn’t just about grabbing what’s in stock. Think about how your path will get used and what kind of climate you’re dealing with. Some mixes are great in dry zones but fall apart in wet conditions. Others feel soft but shift too much if walked on every day. Consider these pointers:
– Foot Traffic: For areas with lots of use, go with compact mixes like crushed stone or decomposed granite.
– Drainage Needs: If your yard tends to hold water, you’ll want gravel types that drain better like pea gravel or clean crushed stone.
– Appearance: For sharp, clean lines, fine-grained gravel or DG provides a smooth look. Pebbles or round stones create a more relaxed style.
– Landscape Match: Be sure your gravel’s color and size work with nearby features like fences, garden beds, or your home.
– Weather: If your path will deal with heavy summer rain or long dry periods, pick a type that holds up without creating dust or erosion.
If your pathway runs through a shady, damp area, you’ll want a gravel type that resists erosion. For a sunny path lined with flowers, something lighter in color might keep the space looking airy. Taking time to line up these small details goes a long way in making sure your gravel path looks good and holds up.
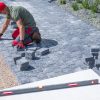
Installation Tips for Gravel Pathways
Laying down a gravel path takes more than just pouring stones on the ground. There are a few steps to follow to keep things smooth, stable, and long-lasting.
Start by preparing the ground. You’ll need to clear out plants, roots, and other debris from where you want the path to go. Level out the surface with a rake or shovel so it doesn’t have dips and bumps.
Next is the foundation. A base layer helps with drainage and keeps the gravel from sinking into the soil. Use 2 to 3 inches of crushed stone or coarse sand as your base. Spread it out evenly and pack it down firmly using a hand tamper or tool.
Now, it’s time to spread your chosen gravel mix. Aim for a layer about 2 to 3 inches thick. Use a metal rake to smooth it out and adjust the surface. Don’t press it down too hard, or it’ll lose that nice underfoot crunch.
Think about installing edging. It keeps the gravel from spilling into your lawn or nearby spaces. Edging also gives your path a nice, polished look.
Maintenance of Gravel Pathways
Gravel paths are pretty easy to take care of once they’re in, but they still need some attention here and there.
Rake the surface now and then to spread stones that may have moved. This keeps the path level and helps it look neat. This is especially helpful after a stretch of heavy use or bad weather.
If you spot bare patches or areas where the base is showing, you can add more gravel to fill it in. Just spread the new layer and smooth it out.
Weeds can still sneak through over time. Using a weed control fabric underneath during installation helps limit this. Otherwise, pull them by hand or apply a weed-safe spray occasionally.
Drainage problems might come up if your pathway isn’t sloped right. Make sure the path tilts gently to one side so water flows off. If needed, add more base or reshape the slope slightly.
Keeping Your Pathway Looking Great
A little care can keep your gravel path looking sharp for years. Edging is a helpful way to add definition and prevent the gravel from creeping out of line. It also marks off the path clearly from lawns or gardens.
Use the changing seasons to your advantage. In spring, check for signs of wear from winter. Look for moved stones or weeds starting to grow. In summer, make sure the drainage is doing its job. In fall, reinforce the gravel layer before snow or rain arrives.
These small steps help keep both the appearance and function of the path in good shape. They’re easy to do, but they’ll save you larger fixes later. Take a quick walk along your path after any big storm to catch signs of washing or wear early.
Enjoying Your New Pathway
Once the pathway is down and cleaned up, you can step back and enjoy it as part of your space. Gravel paths are more than just something to walk on. They tie areas of your yard together and add a touch of charm and character.
Choosing the right type of gravel, getting the base right, and tending to small maintenance jobs now and then will make a big difference. Your path can last for years with little trouble if started right.
That initial time and effort will pay off as you enjoy a durable, good-looking walkway every day. Whether it leads to your garden, patio, or just through your green space, a well-built path always makes the area feel a little more complete.
Transform your garden with a pathway that perfectly complements your outdoor space. At Mr. Pavers, we understand the impact the right gravel mix can have on the longevity and beauty of your path. Discover how our selection of high-quality materials can help you create a pathway that balances style with durability. With our expertise, your garden can flourish with a stable, visually pleasing path that lasts for years to come.