How to Use Gravel Garden Ideas Without Blocking Drainage
Gravel garden ideas are a great way to create low-maintenance outdoor spaces. They look clean, come in many textures and colors, and can be used in small corners or bigger sections of a yard. You do not have to deal with mowing or weeding as much, and they do well in sunny weather. But although gravel is simple to set up, many people forget to think about drainage.
If water cannot move through or around the gravel, the space can become soggy, sink over time, or attract weeds and bugs. None of that is what most people want in a garden. So when setting up gravel in your yard, especially before spring rain settles in, it helps to know how to keep water flowing freely. There is a right way to shape and layer materials that lets you enjoy the benefits without losing function.
Choosing the Right Type of Gravel
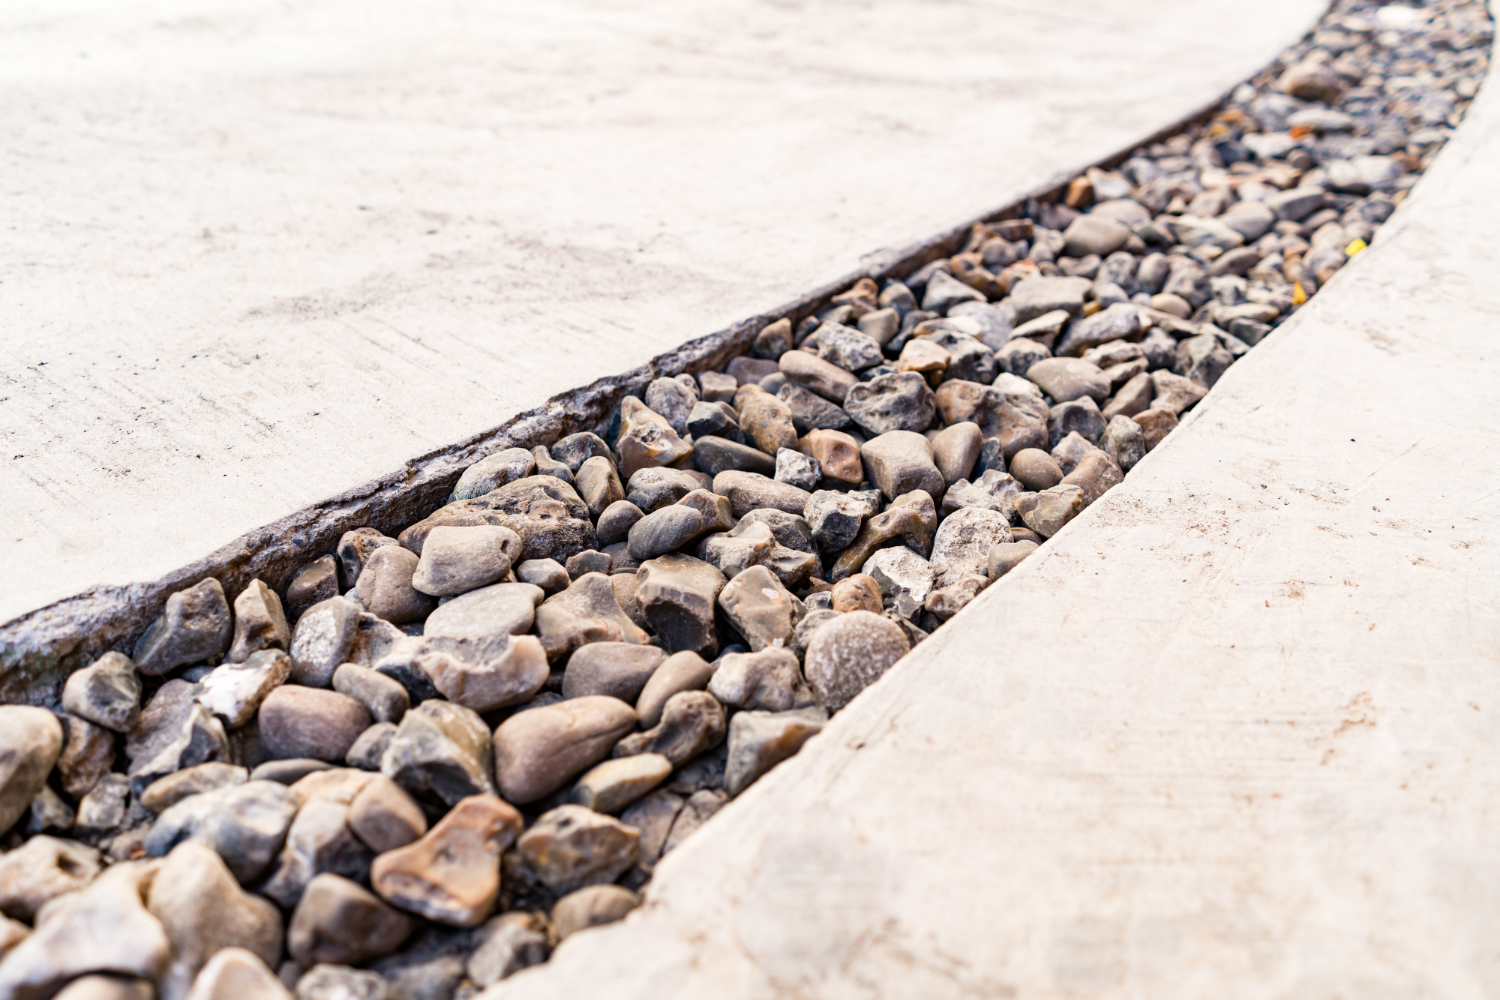
Not all gravel works the same. Sizes, shapes, and materials affect how water flows through and under the garden. Some people pick what looks nice only to find out later that water cannot get through.
Here is what we usually watch out for:
• Pea gravel, which is smooth and round, can shift easily and block drainage if it packs too tightly
• Crushed rock gravel has rough edges and drains better because water can flow through the gaps
• Decomposed granite looks soft and smooth but can harden over time, making it harder for water to pass through
In Southern California, we often see compact soil, which does not let water move easily. That is why the wrong gravel, especially fine pieces that settle fast, can make things worse instead of better. Going for gravel that stays loose helps prevent water from pooling or soaking unevenly. When picking local materials, it is smart to use gravel that works well with the soil type. Talk to whoever supplies the gravel and ask what works best with slow-draining dirt. Mr. Pavers offers a wide range of decorative stone and gravel, including options like Arctic White and Arizona River Rock, so you can match both drainage needs and the look of your space.
Planning for Natural Drainage
Before adding gravel, pay attention to how water already moves. A garden does not start with gravel, it starts with what is under it and around it. If the ground sits flat or has low spots, water will not move much on its own.
To keep that from becoming a problem:
• Walk the area after a light rain and look for puddles
• If the ground slopes slightly away from the house or the center of the yard, that is a good thing
• Do not build gravel beds in places where water tends to sit, change the shape first or guide the water somewhere else
Even a small slope helps water run off more easily. We aim for a gentle drop in the direction we want water to go instead of letting it collect under the gravel. Making these changes beforehand is better than trying to fix soggy gravel later.
Laying Materials the Right Way
Gravel only works well if the base underneath can help water get where it needs to go. So the setup matters more than people think.
Here is a basic process we trust:
1. Start by digging a few inches deep and clearing loose soil
2. Add a solid layer of sand or drain rock at the bottom to spread out moisture
3. Put down a layer of woven fabric to keep gravel and dirt from mixing, but do not use plastic or anything that keeps water stuck
4. Lay gravel over the top, spreading it out evenly so it does not clump
One big problem is overcompacting everything. This might seem like the right way to keep the gravel stable, but if it is too tight, water will not get through. We press materials just enough to flatten them, not too hard so it blocks the flow. For these base layers, Mr. Pavers stocks landscaping materials such as gravel, sand, and fill dirt that are commonly used under patios, paths, and garden beds.
Building Features Without Interrupting Flow
It is tempting to fill a gravel garden with extras like edging, potted plants, or stepping stones. These can look sharp if placed right, but if they get in the way of water, they can ruin the setup.
To avoid that, we like to:
• Keep raised beds slightly off the gravel floor so water can keep moving underneath
• Choose open or low-profile edging so rain can slip across easily
• Set stepping stones on a level layer of crushed rock instead of dirt so water does not collect around the edges
Other decorations, like ceramic pots or metal pieces, should sit above ground level or have clearance underneath. That keeps water from building up under or around them. Think of each item as part of how the surface handles water, not just how it looks.
Smart Upkeep After Winter
February is a tricky time for outdoor spaces. The soil is still heavy from winter rain, but spring weather is not far off. Before the new season fully settles in, it pays to walk the yard and check how the gravel has been holding up.
We like to focus on a few basic checks:
• Are there spots where the gravel has thinned from foot traffic or wind?
• Has anything sunken below the edges where water might be catching?
• Are any plants or roots shifting the gravel in ways that trap water?
It does not take long for rain to cause buildup in low spots or for roots to peek through fabric if things are not checked. A quick look in late winter keeps the gravel garden neat and helps water keep flowing when early spring rains arrive.
Long-Lasting Gravel Gardens That Drain Well
A gravel garden is meant to make life easier, not create new problems. The key is shaping it with drainage in mind from the start. Picking gravel that lets water pass, building in layers, and steering clear of common blocks like tight edging or poor slope makes a big difference long term.
These simple choices at the beginning can save effort later. With a few adjustments, gravel garden ideas can give you a clean, strong outdoor space that drains as it should without much upkeep. It is about learning where water wants to go and giving it a clear path. At our Jurupa Valley, California, yard, Mr. Pavers Garden & Supply has helped Southern California homeowners and contractors build patios, gardens, and gathering spaces with gravel and stone that perform well across seasons.
Sorting through material choices and layout options can feel overwhelming, but we are here to help you narrow down the best gravel types for your area. We understand that poor drainage can compromise even the most promising design, so we carefully plan site prep and material selection to ensure lasting performance. For those gathering fresh gravel garden ideas before spring, now is the perfect time to confirm your project can withstand the rain. At Mr. Pavers, we are ready to discuss layouts, materials, and effective water management, so give us a call to learn how we can assist you.


