Repairing Gaps Between Pavers In Your Patio
Spotting gaps in your patio can be frustrating. Over time, shifts in the ground, heavy foot traffic, and changes in weather can slowly push pavers apart and leave unsightly spaces between them. These gaps aren’t just a cosmetic issue. They can lead to weeds popping up, water draining unevenly, and even trip hazards. Keeping your patio clean and tight doesn’t just help it look good, it helps it last longer and stay safer for everyone using it.
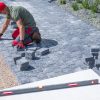
Fixing these gaps isn’t just about throwing some sand into the spaces and calling it done. It takes a little planning, the right materials, and careful steps. You’ll want to check for loose or damaged brick units, clear away any buildup in the joints, and restore the patio to its original look and strength. If you skip steps or make quick fixes, the problem usually comes back. Below, we’ll walk through some key areas you should focus on to get your patio back in shape.
Assessing The Damage
Before bringing out any tools, take some time to really look over your patio. Gaps between pavers show up for different reasons, and identifying the cause can help you figure out the best way to fix it.
Look for:
1. Loose or missing brick units
2. Cracked edges or corners of pavers
3. Gaps that are wide in some areas and tight in others
4. Signs of weeds or plant roots pushing pavers apart
5. Areas where the pavers feel uneven or sink slightly when stepped on
Some gaps form naturally over time with normal use and weather exposure. Rain can wash away the joint material. Heat can cause the pavers to expand and shift. Soil can settle or erode, especially if things weren’t compacted well during installation. If the pavers are uneven or rocking under pressure, the issue might go deeper than just the surface joints. Frequent freeze-thaw cycles or heavy water runoff can speed up the damage too.
Take notes as you inspect. You don’t have to map it out, but knowing what kinds of issues are where will help you make smarter repairs. For example, if most of the gaps are around the edge, extra border support may be needed. If there are sunken spots, the base material could need attention. It’s easier to fix things the right way when you know what you’re dealing with upfront.
Cleaning The Area
Once you’ve got a good handle on what parts of your patio need work, it’s time to prep the space. Whether you’re refilling gaps or replacing brick units, a clean work area is key. Dirt, weeds, old sand, and debris can get in the way and keep new material from setting correctly.
Here’s what you should do:
1. Clear debris – Sweep away loose gravel, leaves, and dirt using a wide-bristled broom. Get into the joints as much as possible.
2. Blast it clean – Use a hose with a strong spray nozzle or a pressure washer to flush out weeds, insects, and leftover joint material from between the pavers. Make sure not to damage the edges as you do this.
3. Use a wire brush – Scrub the inside edges of each gap. This helps smooth out the sides and improves grip for new filler material.
4. Watch for mold or mildew – If anything looks stained or discolored, lightly clean with a mix of water and dish soap. Avoid using bleach or harsh chemicals near garden areas.
5. Let it dry – Don’t skip this. If the surface and joints are wet when you refill them, the material won’t set as well and might shift later.
Doing a thorough job here saves time later. Grit or moss stuck between pavers might seem small but can push new filler right back out. Once everything’s clean and dry, you’ll be ready to move to the next step — repairing or replacing any missing or broken brick units.
Replacing Missing Or Damaged Brick Units
If some of your brick units are broken or missing, now’s the time to sort those out. Fixing these is key to keeping your patio strong and looking good. Here’s a straightforward way to handle it:
1. Remove the damaged pieces. Gently use a flat-head screwdriver or a chisel to lift the broken bricks. Be careful around the edges so you don’t harm neighboring pavers. Keep the nearby units intact.
2. Clear the debris. Once the broken pieces are out, brush out any leftover sand, dirt, or pieces of the old brick. This leaves the area ready for new units to go in evenly.
3. Install new bricks. Find replacement brick units that match the size and color of the original ones as closely as possible. A good match keeps the patio looking seamless. Set the new bricks into the cleaned space and gently tap them with a rubber mallet to help fit them securely.
4. Level and secure. After placing each new brick, make sure it sits flush with the others. You can adjust by adding or removing some of the base material underneath. Wobbly bricks can lead to future problems, so take your time getting them level.
Replacing damaged brick units not only fixes the current gaps but helps the structure stay durable in the long run. Once all replacements are in place, you’re ready to move on to making those joints solid again.
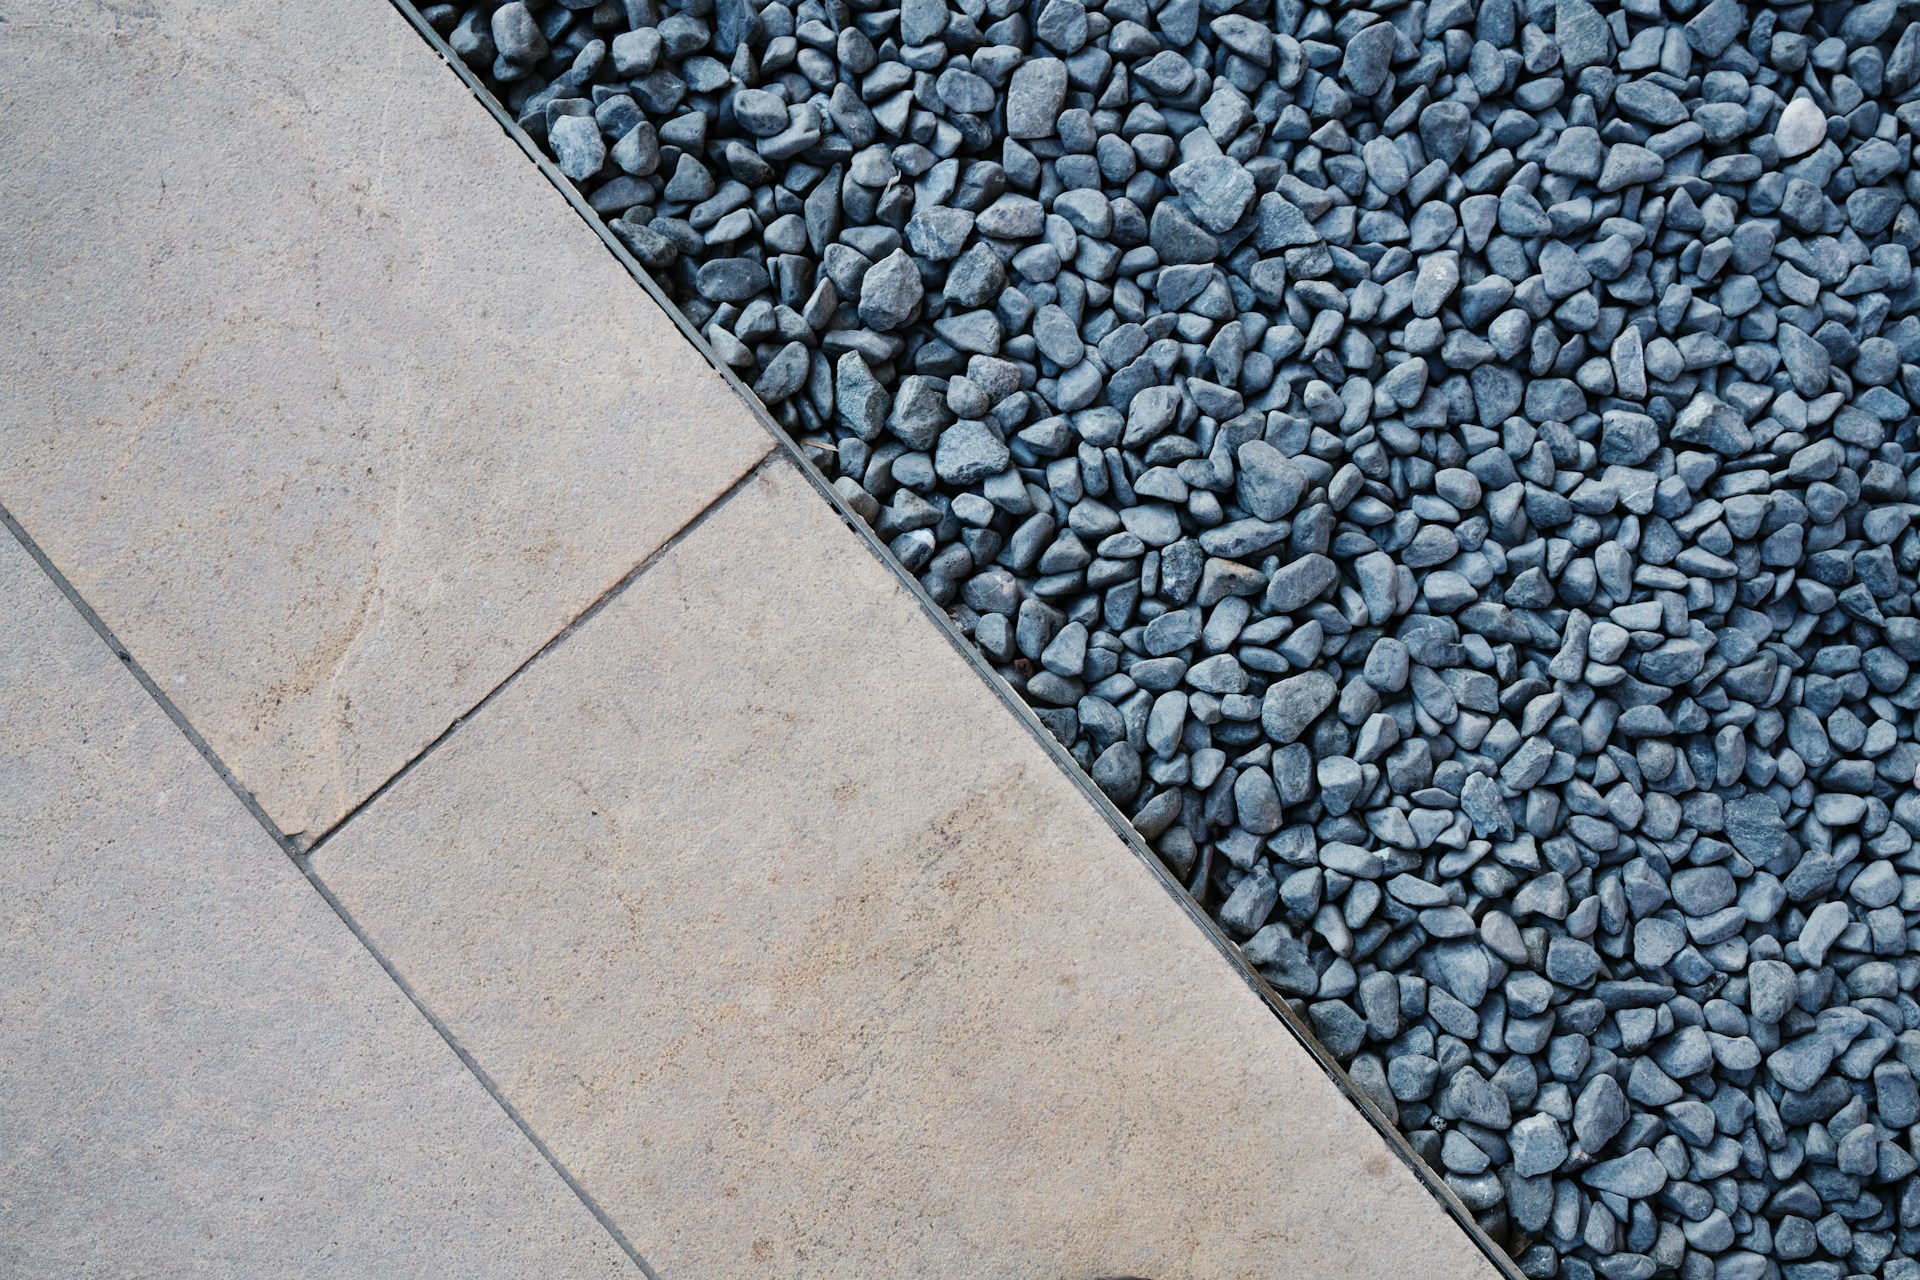
Filling The Gaps
Once you’ve handled any damaged or missing bricks, it’s time to fill the gaps between all the pavers. This step locks everything in place and gives the patio that clean, finished look.
1. Choose a filler. Your main options are regular sand or polymeric sand. Polymeric sand is the more durable choice since it firms up when it gets wet and resists movement over time.
2. Apply the material. Spread the sand across the patio surface. Use a push broom to sweep it into the joints, making several passes so all the gaps are packed. Don’t rush this part since full joints offer better stability.
3. Compact and settle. Use a tamper to press the sand firmly into the joints. Then sweep more sand over the area to top off any spots that have settled and tamp it again.
4. Water it in. Gently spray the surface with water. Polymeric sand needs moisture to harden, but too much water can wash it out. Light, even spraying helps activate the sand. Let it dry fully before walking over it.
Done correctly, this step keeps your patio neat and tight. It blocks weeds, stops insects from nesting, and helps prevent shifting from rain or foot traffic.
Keeping Your Patio In Tip-Top Shape
Maintaining a patio isn’t just about fixing gaps as they pop up. Regular care helps everything last longer. Keeping your patio swept and rinsed prevents buildup that wears down the joints. After each season, give it a quick inspection. Look for loosened bricks, water collecting near edges, or gaps that are reopening.
Early fixes stop bigger problems. Loose bricks that sit a little wobbly now can grow into sunken sections or cracked surfaces. Brick units that match well now might not be easy to find in a few years if you wait too long to replace them.
If you’re in an area with heavy rainfall or cold winters, make sure your patio slopes away from your home and drains well. Water buildup under the pavers can lead to major shifting or erosion.
By catching issues early and keeping up with simple maintenance, you’ll enjoy a better-looking space that’s safer for everyone. Whether you’re relaxing outside or hosting company, a smooth, finished patio makes a big difference. A little effort goes a long way.
Transform your patio into a flawless masterpiece with Mr. Pavers. Our selection of high-quality brick units will help you repair gaps and maintain a neat, uniform outdoor space. Rely on Mr. Pavers to enhance your patio’s aesthetics and durability, ensuring it remains safe and stunning for years to come.