Common DIY Mistakes with Concrete Block Garden Projects
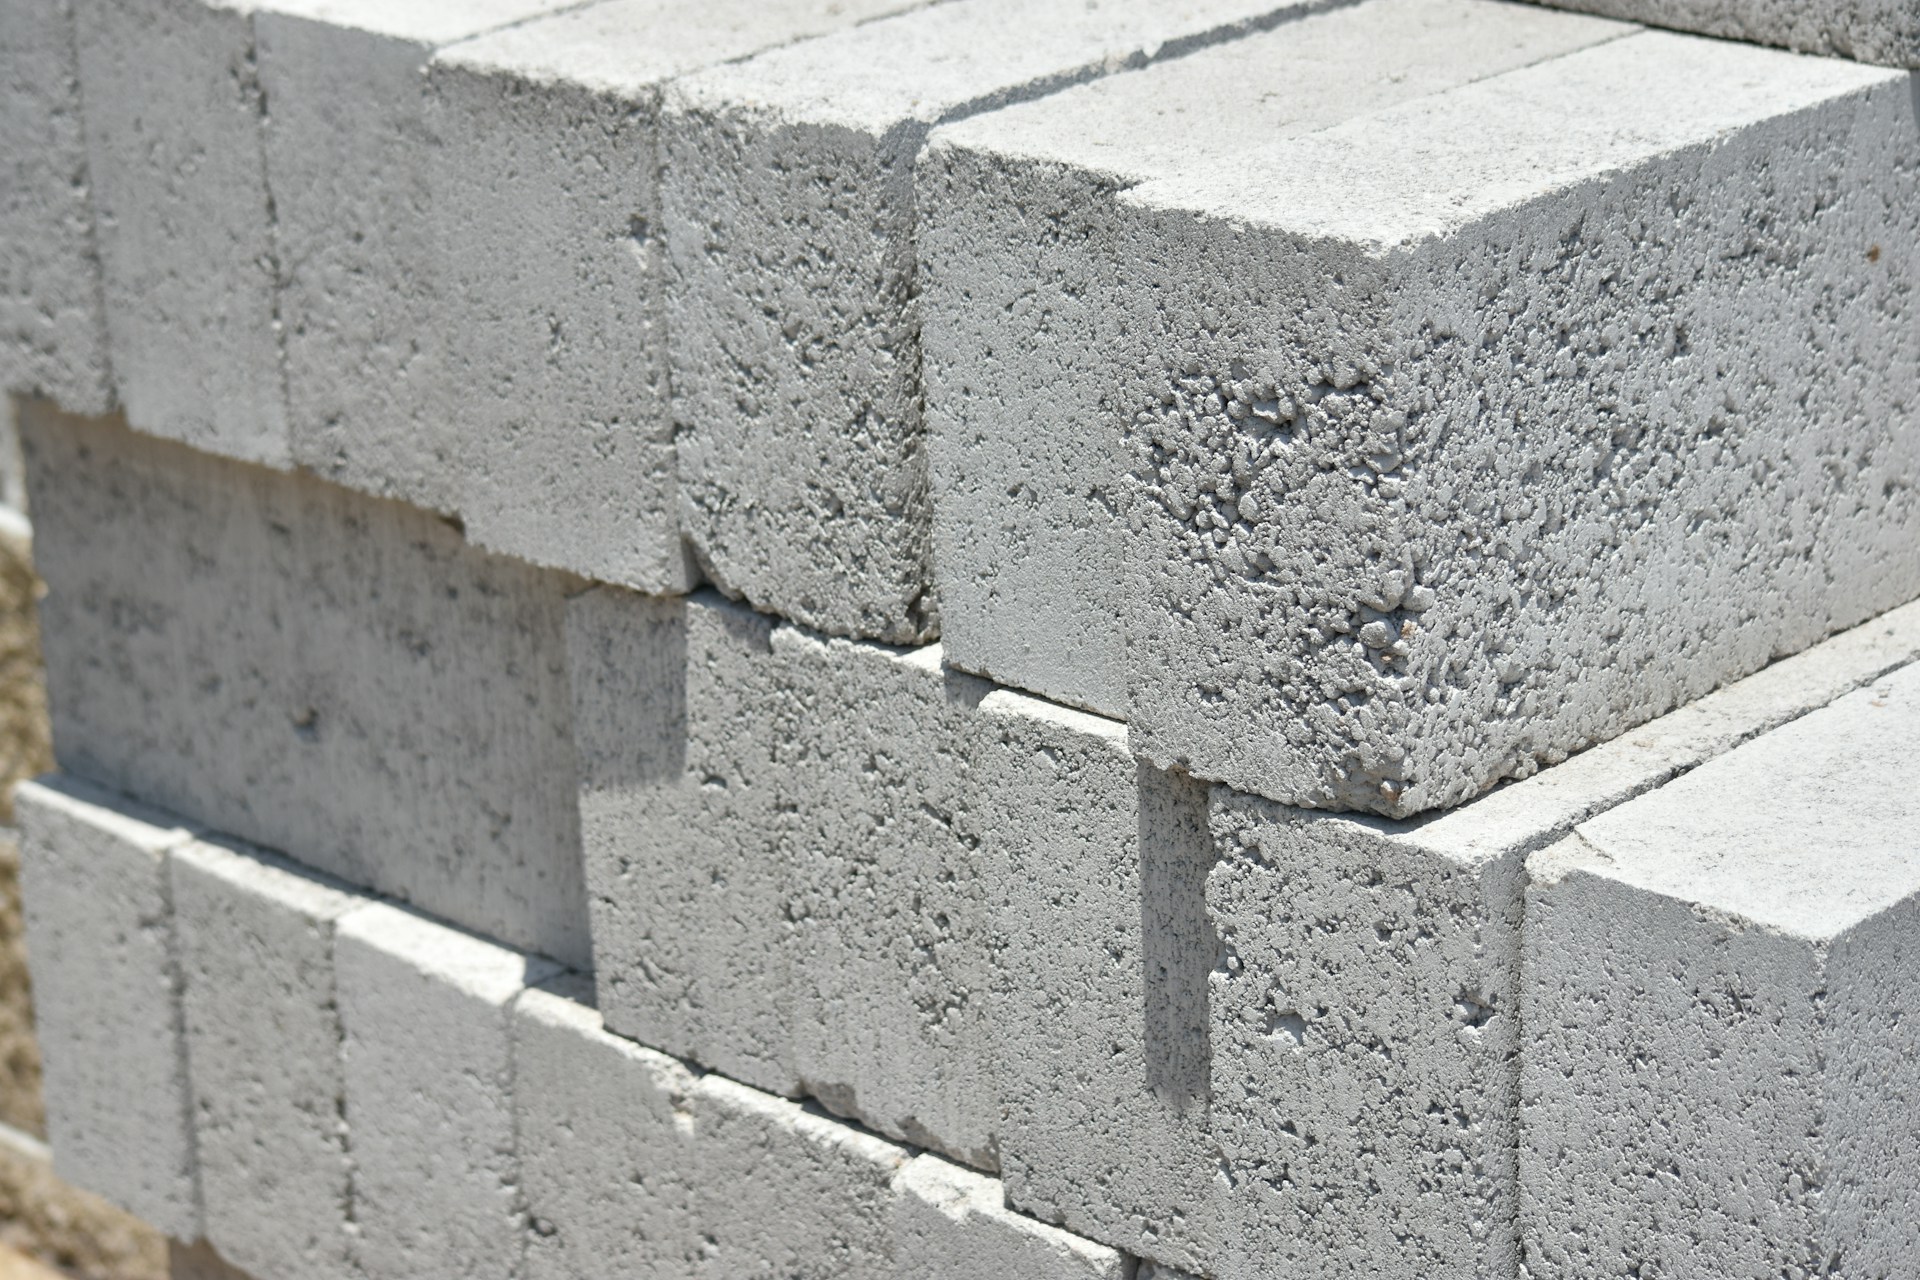
Concrete garden blocks can make your yard look clean, modern, and finished in just a weekend. Raised beds, borders, short walls, and planters all feel doable when you are standing in the home aisle on a Saturday morning. But a few small mistakes early on can turn that fun project into a long, hot headache.
In this guide, we walk through common DIY problems we see with concrete garden blocks, especially for Los Angeles-area yards. We will cover planning, base prep, stacking, drainage, and material choices so your weekend work looks good, lasts longer, and doesn’t need to be torn out and redone when summer is in full swing.
Stop Wrecking Your Weekend with Fixable Block Mistakes
Many homeowners in our area start the warm season ready to upgrade their yards fast. Concrete garden blocks seem simple: stack them, fill with soil, and you are done. The reality is that a little planning on the front end saves a lot of sweat later.
Small errors can turn into:
- Crooked or wavy walls
- Cracked or tilted blocks
- Standing water and soggy beds
- Wasted stone, gravel, and blocks
The good news is that most of these problems are preventable. With a clear plan and the right materials, those garden beds, borders, and terraces can actually be relaxing to build instead of stressful.
Skipping the Plan and Hoping It Works Out
Heading into a project without a simple plan is one of the biggest block mistakes. Eyeballing the layout usually feels quicker, but it often causes trouble halfway through the day when the sun is high and energy is low.
Common planning slip-ups include:
- No real measurements, just guessing
- Curves that look awkward from the street
- Beds that are too narrow to reach into
- Needing more blocks right when you are tired
Before you stack a single concrete garden block, stop and look at what is already in the yard. Check for:
- Existing sprinklers and drip lines
- Tree trunks and main root zones
- How water currently moves across the soil
Garden walls or raised beds can block sprinklers, starve roots, or send runoff toward your patio or house if the layout ignores slope and irrigation.
It also helps to think about property lines and local rules. Putting a block wall or high planter right on a fence line can cause neighbor issues. Moving a finished garden feature even a few inches after it is built is frustrating.
Bad Base Prep That Sabotages Your Block Walls
Blocks are heavy, and the ground under them matters. Setting concrete garden blocks directly on grass or loose soil might look okay on day one, but over time the weight causes sinking and shifting.
A strong base usually needs:
- Enough excavation so the first course sits in the ground, not on top of it
- A layer of compacted base material, not loose dirt
- Careful leveling from front to back and side to side
Using leftover soil as your base is a common shortcut that backfires. Materials like compactable base rock or decomposed granite help keep things solid and more stable. Dirt moves, settles, and gets soft when wet, which is the opposite of what you want under a garden wall.
Compaction is another step people rush. Packing the base in thin layers with the right tool, then setting the first row of blocks level, makes everything above it straighter and sturdier. If the first course is off, every row on top will be worse.
Stack and Pray: Structural Mistakes with Garden Blocks
Once the base is in, stacking blocks can feel like building with giant toy bricks. That is where some big structural mistakes sneak in.
One issue is lining up all the vertical joints. When blocks sit directly on top of each other in straight columns, the wall has weak lines that tip or crack more easily. Staggering the joints helps spread out weight and makes the wall feel more solid.
Leaving off caps and skipping adhesive is another shortcut that leads to wobbly edges. Without caps or glue between key layers, blocks can shift if kids sit on them, a pet runs along them, or a mower wheel bumps the side. Simple caps and masonry adhesive help lock everything together.
Height matters too. Low garden borders and short planters are one thing, but once you start holding back more soil, the pressure builds. Taller walls often need special systems or professional support so they stay safe and stable instead of leaning out over time.
Water, Dirt, and Gravity Working Against You
Water always finds a path, and it rarely cares about your new project. When concrete garden blocks hold back soil, trapped water can push hard from behind if there is nowhere for it to go.
Common water and soil mistakes include:
- No drainage layer behind the wall
- No place for water to exit at the base
- Backfilling with heavy, soggy soil only
A free-draining layer of clean gravel or similar rock behind the blocks can help water move instead of building pressure. Mixing soil and rock in the right spots keeps plant roots happy while still letting water pass.
Edges are easy to forget too. Without a simple edging or barrier, soil can spill, mulch can slide, and roots can creep into places you did not plan. Over time, that slow movement changes the look and puts extra force on your blocks.
Choosing the Wrong Blocks and Materials for La Yards
Not every concrete block is meant for every job. Picking blocks only because the color looks nice can backfire if they are not suited for what you are asking them to do.
Here are a few things to think about:
- Is the block meant for garden borders, small planters, or retaining soil?
- Will people walk or sit on top of it?
- Will it be near a driveway or parking area?
Light garden blocks might be fine for a flower bed but not for steps or areas with more weight. The surface texture also affects how safe it feels underfoot.
Color is another surprise for many homeowners. In the strong LA sun, light shades can look brighter and darker tones can heat up. Seeing blocks, pavers, and gravel in person during daytime can help you pick a look you will enjoy in real light.
Our climate and watering rules also matter. Materials need to handle heat, dry spells, and regular irrigation cycles without breaking down fast. Blocks, gravel, and turf should work with long seasons of sun and changing moisture, not fight against them.
Turn Weekend Projects Into Durable Summer Upgrades
Thoughtful planning, a solid base, smart stacking, and simple drainage details are what separate “good enough for now” from “still looks great next summer.” Concrete garden blocks can give your yard clean lines and fresh structure, as long as water, soil, and gravity are taken seriously from the start.
At Mr. Pavers, we see what works well in Los Angeles-area yards and what tends to fail early. When DIY plans are paired with the right blocks, caps, base materials, and turf, weekend projects are smoother and the results last longer. Bringing a rough sketch, some measurements, and a few inspiration photos to the materials yard is often all it takes to turn a vague idea into a clear, job-ready plan.
Get Started With Your Project Today
Transform your outdoor space with our durable, easy-to-install concrete garden blocks designed to fit both modern and classic landscape styles. At Mr. Pavers, we help you choose the right materials and quantities so your project comes together smoothly from the first block to the last. If you are not sure where to begin or need a custom recommendation, simply contact us and we will guide you step by step.