Mistakes Diyers Make with Concrete Garden Blocks in Hot Yards
Keep Your Cool: Avoid These Hot-Weather Block Fails
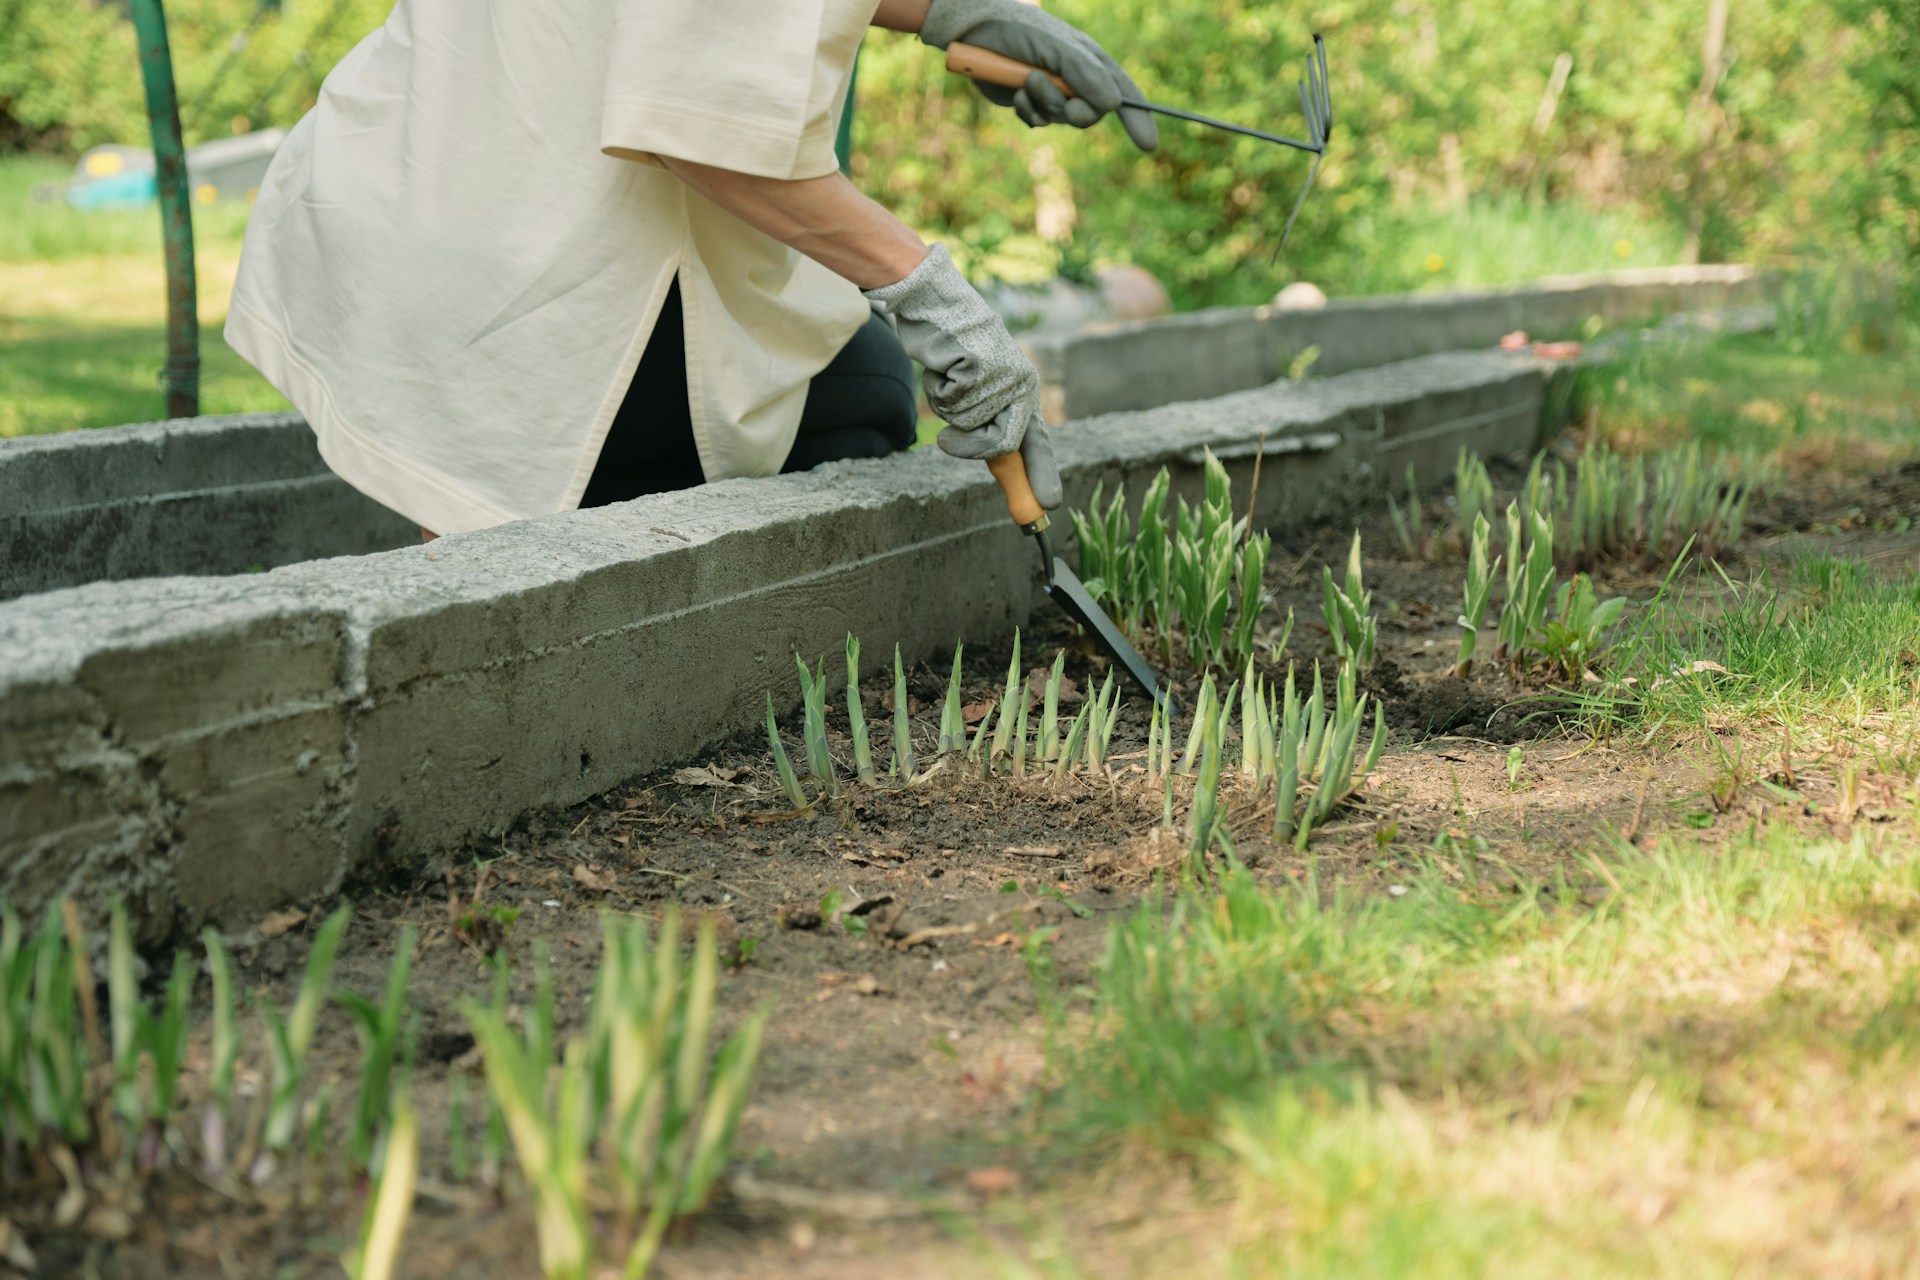
Concrete garden blocks can look sharp around a flower bed or raised planter. They are strong, clean, and easy to stack. But in a hot, sunny yard, they behave in ways many homeowners do not expect. After one long, bright summer, those neat lines can start cracking, shifting, or fading in strange patches.
Heat makes concrete expand, contract, and hold warmth like a little oven. That can stress plants, dry out soil, and put pressure on the blocks themselves. When you mix in hard, dry ground and sudden summer storms, small mistakes can turn into big problems. We will walk through the most common trouble spots so your next garden block project looks good and stays steady in a hot yard.
Underestimating Heat and Sun Exposure
Concrete garden blocks soak up sun all day, then share that heat with the soil and plants around them. In a full-sun yard, the face of a block wall can feel hot long after sunset. That extra warmth might sound nice, but it can be rough on roots, mulch, and nearby hardscape.
Many DIY projects fail before they start because the sun pattern is not part of the plan. Common missteps include:
- Lining blocks along the west side of the yard where afternoon sun hits hardest
- Building next to light siding or reflective windows that bounce extra heat onto the wall
- Tucking tender plants right up against a hot block border
The results can be tough to fix. Soil dries out faster, which means more watering and more stress on plants. Raised beds can act like big concrete planters that overheat, baking roots instead of supporting them.
A better approach is to design with heat in mind. Before you place a single block, watch your yard at different times of day:
- Spots with a bit of afternoon shade from trees, fences, or nearby structures
- Areas where you can break up heat with gravel, stone, or mulch pathways
- Locations where tough, sun-loving plants can handle warmer soil
Pairing concrete garden blocks with lighter-colored gravel or stone can help keep the area cooler. Mulch in planting zones helps soil stay moist and shields roots from hot surfaces.
Skipping a Proper Base in Hard, Dry Ground
On a hot property, the top layer of soil often feels rock solid. Many DIYers think that is strong enough and just dig a shallow trench, knock the dirt flat with a shovel, and start stacking blocks. It might look fine at first, but hard, sun-baked ground is sneaky.
When a real rain finally hits, that dry, compacted soil can soften and shift. Clay pockets swell, sandy spots wash out, and the heavy weight of concrete garden blocks starts to move. That is when you see:
- Corners settling lower than the rest
- Blocks leaning forward or bulging out
- Cracks where seams used to be tight
A sturdy base is not a fancy extra. It is the part that keeps everything in line. For most small walls and borders, you want to:
- Remove enough soil so the first course of blocks sits on a prepared base, not on loose dirt
- Add a layer of compacted road base or crushed gravel to spread the weight
- Use leveling sand to fine-tune the surface and get each block sitting flat
In hot climates where soil swings from rock hard to soaked after storms, that layered base is even more important. Solid foundation materials, chosen for your soil type, give your project a better chance to stay straight and tight through many summers.
Ignoring Drainage and Water Runoff
A yard can feel bone dry all week and then turn into a small river when a strong summer storm rolls through. When water has nowhere to go, it looks for the weakest path, often right around your new block border or garden wall.
Problems start when blocks are stacked in low spots or tight against existing concrete without thinking about runoff. Water can:
- Pool behind a short wall and push soil through the joints
- Wash out the base under the front edge of blocks
- Cut channels along the sides of raised beds
To keep your concrete garden blocks steady, plan for water from the start. Helpful habits include:
- Sloping the base slightly so water moves away from structures, not toward them
- Filling behind borders or walls with gravel instead of packed soil, so water can drain
- Adding perforated drain pipe or small weep gaps on longer, taller runs where water might collect
Gravel and stone around and behind the blocks help control both heat and moisture. You create paths for water to move gently, instead of letting it tear out the support under your project.
Choosing the Wrong Blocks and Fill Materials
Not all concrete garden blocks are built for the same job. Some are best for simple edging, others are shaped to lock together for short retaining walls or deep raised beds. Picking the wrong type can lead to sagging lines, gaps, or walls that tilt out over time.
Common DIY mix-ups include:
- Using small, light blocks for walls that need heavier, interlocking units
- Mixing random leftover materials that expand and settle at different rates
- Filling raised beds with heavy, dense native soil that drains poorly and compacts solid
What you place inside and around the blocks matters just as much as the block itself. Dark rock around delicate plants can heat up the soil. Cheap fill that turns into a brick after the first watering can choke roots and hold too much moisture.
Smarter combinations focus on balance. For example, you can pair:
- Blocks suited to edging with gravel paths and light mulch in nearby plant beds
- Stronger wall blocks with quality garden soil blends inside raised beds
- Cooler ground covers like mulch or artificial turf near hot hardscape to cut surface heat
Matching block style, fill material, and nearby surfaces gives your project better structure and creates a more comfortable space for both plants and people.
Building Too Close to Heat-Sensitive Features
Side yards and narrow strips can seem perfect for a straight run of concrete garden blocks. Many homeowners line them right up against fences, house siding, AC units, or shallow irrigation lines. In a hot yard, that tight spacing can create a small heat trap.
Hot blocks pressed against wood can shorten the life of a fence. Plastic edging or drip lines can warp or crack near very warm surfaces. AC units need room for airflow, and extra reflected heat from nearby walls or block borders can make them work harder.
There is also the issue of what lies under the ground. When you add weight and your soil swells and shrinks through dry spells and storms, shallow irrigation or utility lines can shift or crack.
Safer planning includes:
- Leaving small air gaps between blocks and fences or siding
- Respecting clear zones around AC units so air can move freely
- Calling to have utilities marked before digging, especially in tight, sunny side yards
By giving heat-sensitive features a bit of breathing room, you lower stress on them and give your block project space to move naturally without causing damage.
Build a Heat-Ready Garden Block Project That Lasts
Concrete garden blocks can handle tough conditions, but hot yards ask more from them. The key shift is to think about heat, movement, and water, not just the look of a straight line or a pretty curve. When you plan for sun, base, drainage, block type, and surrounding materials, everything works together instead of fighting the climate.
Before you stack the first block, step back and review your design. Check the sun pattern, pick a location that respects shade and structures, plan a real base, and think carefully about what will go behind, under, and inside your blocks. At Mr. Pavers, we see how much smoother projects go when homeowners show up with a rough sketch, a few photos, and some measurements. It makes it easier to match concrete garden blocks, gravel, stone, mulch, and turf to the way a yard actually behaves in summer heat, so the finished space stays stable and comfortable for many seasons.
Get Started With Your Project Today
Transform your outdoor space with our durable, easy-to-install concrete garden blocks designed to fit your unique landscape vision. At Mr. Pavers, we take the time to understand your goals so we can recommend the right products and quantities for a smooth project from start to finish. If you are unsure where to begin or need help planning your layout, simply contact us and we will guide you through your next steps.