How To Fix Broken And Chipped Concrete Blocks
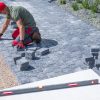
Concrete blocks are tough, but they’re not invincible. Over time, weather changes, ground shifts, or even just regular wear and tear can cause them to crack or chip. Maybe you’ve noticed a corner missing on a step, or a crack starting to spread across a wall or patio. It might seem like just a small problem now, but damage like this can get worse if ignored.
Fixing broken and chipped concrete blocks isn’t just about looks. Those damaged spots can let in moisture, weaken nearby blocks, and even start to shift or crumble under pressure. And when that happens, it can mess with the structure of patios, garden beds, or retaining walls. Taking care of problems as soon as you spot them keeps everything strong, clean, and safe.
Identifying The Damage
Before starting any work, you’ll want to take a good look at the surface to find out exactly what needs fixing. It’s not always as simple as just patching what’s visible. Some damage might only look like a small chip, but can actually be part of a deeper crack running underneath or along the joints between blocks.
Here’s how to check for signs of damage:
– Look for cracks across the face or along edges of the block
– Trace any chipping that might be growing deeper than it seems
– Check if any blocks feel loose or wobbly when pressed
– Notice any discoloration or stains that could mean water is getting in
– Pay attention to crumbling edges or corners that flake when touched
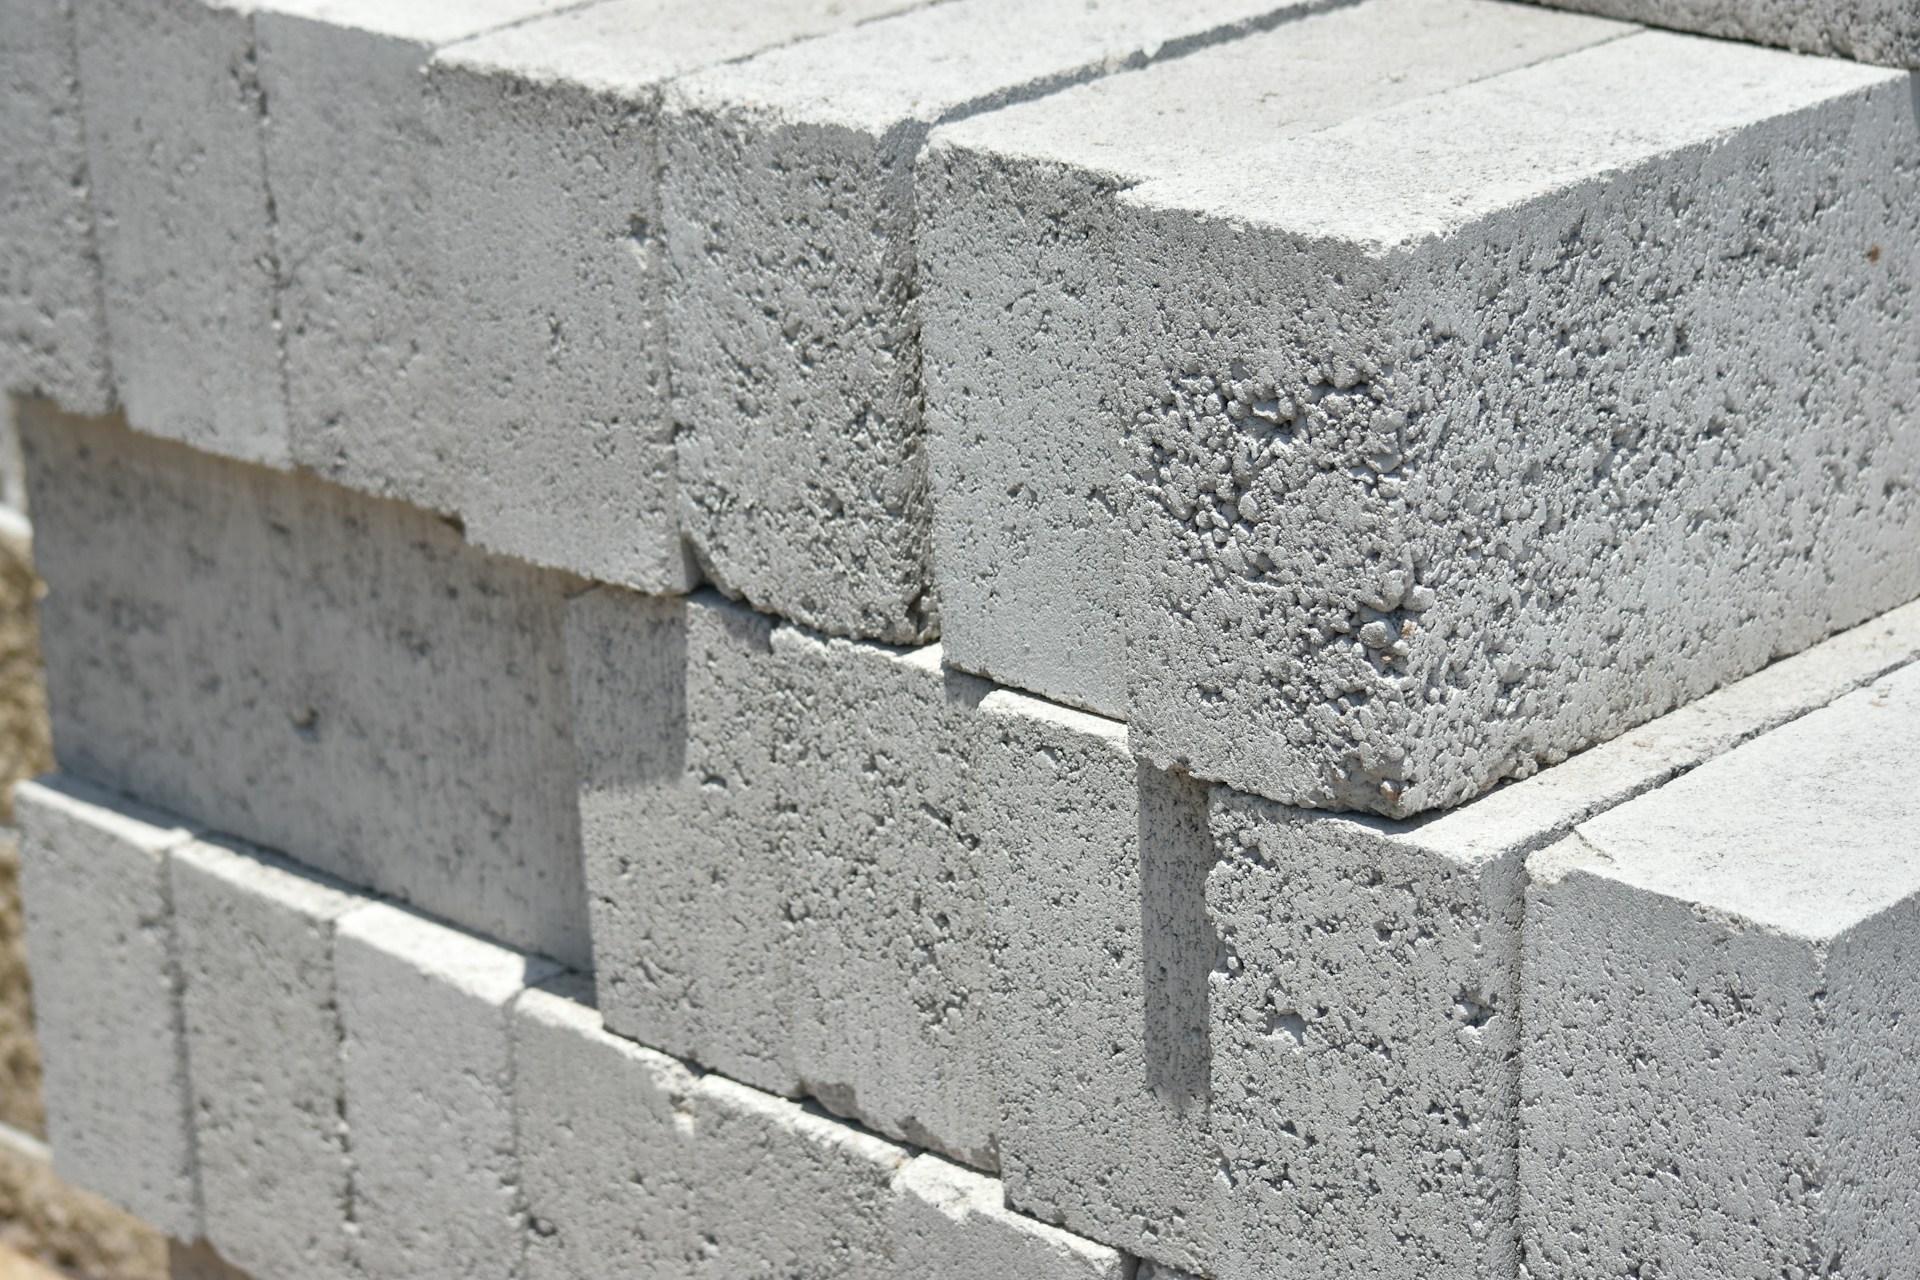
Freeze-thaw cycles, moisture buildup, or impacts from tools or vehicles are usually behind most of this kind of wear. For example, a neatly stacked cinder block wall may start to lean or shift after a few seasons of heavy rainwater running nearby. That kind of issue shows up slowly, but the signs are easy to spot if you’re keeping a regular eye on things.
Figuring out exactly what’s wrong before jumping into repairs helps avoid doing unnecessary work or missing a bigger problem that needs attention.
Tools And Materials Needed
Getting the right tools together makes any repair smoother. You don’t need a garage full of equipment, but a few basics will help finish the job properly and safely.
Here’s what you’ll likely need:
1. Cold chisel and hammer – Used for chipping away damaged pieces cleanly
2. Wire brush – Helps to scrub loose particles and dust from the area
3. Bucket and sponge – For cleaning the surface before and after repair
4. Trowel – Spreads patching material evenly
5. Concrete bonding agent – Encourages better sticking between the new patch and old surface
6. Concrete patch or filler – The actual mix used to fill chips and cracks
7. Safety gear – Gloves, eye protection, and possibly a dust mask to play it safe
If the damage is deeper, you might also need a small masonry saw to cut cleaner edges before applying any mix. That allows the patching material to settle more evenly and stay in place without pulling away as it cures.
Even basic jobs can go sideways with the wrong tools or mixes. Having what you need at the start cuts down on mistakes and saves time overall.
Step-By-Step Repair Process
When fixing chipped or broken concrete blocks, you’ll want a methodical approach to ensure a durable repair. Here’s how to handle it step-by-step:
1. Prepare the Site: Clear the area of any loose debris, dirt, or bits of broken concrete. This ensures the repair material bonds well. Use that trusty wire brush to scrub off any leftover particles
2. Clean the Area: Using a sponge and some water, clean the damaged section thoroughly. It’s important to remove all dust and dirt since a clean surface allows the bonding agent to stick better
3. Apply the Bonding Agent: Brush on a layer of concrete bonding agent over the affected area. This helps the patch stick firmly to the old concrete and keeps it from pulling away over time
4. Mix Your Concrete Patch: Follow the instructions on your chosen concrete patch product to mix it correctly. The texture should be smooth but not too runny, kind of like thick oatmeal
5. Apply the Patch Material: Using a trowel, fill in the cracks or chips with the patch mix. Press it firmly into the crevices and build up until level with the surrounding material. Smooth out the surface as needed
6. Finish the Repair: Once the patch is applied and smoothed, let it set slightly. Then, use a damp sponge or your trowel to do the final smoothing. Make sure it blends well with the surrounding surface
Rushing any of these steps can cause a repair to fail or look uneven. Taking your time helps make it last longer and match the rest of your concrete.
Preventing Future Damage
Maintaining your concrete blocks is one of the best ways to avoid future repair work. It doesn’t take much time either. Just paying a little attention now and then can go a long way.
Here are a few ideas to help:
– Regular Inspections: Check your outdoor concrete every so often. Small cracks or chips are easier to handle when they first appear
– Effective Drainage: Make sure water doesn’t sit or run along the edges of your concrete. Good drainage prevents erosion and weakening, especially during rainy seasons
– Sealant Application: A clear concrete sealer adds a layer of protection against moisture and other harsh elements. It can slow down aging and wear
– Avoid Harsh Chemicals: Skip strong cleaner sprays or de-icers that might break down the concrete surface over time
– Moss and Weed Control: Keep weeds, moss, or grass out of joints and cracks. They can push things apart over time and invite moisture in
Ongoing care like this helps concrete stay strong, stable, and looking fresh. It’s not just about making fixes, but about enjoying a cleaner and more reliable outdoor setup without worry.
Keeping Your Outdoor Space Beautiful And Durable
Making repairs when needed and doing small upkeep jobs here and there doesn’t just make your space safer. It helps keep every outdoor area looking sharp and feeling sturdy. A chipped step, cracked planter wall, or loose block might seem small now but could grow into a more serious problem later.
When you repair and maintain your concrete blocks, you’re supporting the whole structure of your yard or patio. Your garden beds, walkways, sitting areas, and retaining walls feel steadier, last longer, and look cleaner. That goes a long way toward forming a space you enjoy spending your time in.
Consistency is key. It doesn’t take long to do quick checks or patch up a small issue. Keeping everything in shape doesn’t have to be a big job each time. It just takes a little know-how and the right materials nearby. The more care today, the fewer headaches tomorrow.
Maintaining durable outdoor spaces is made simpler with the right know-how. If you’re dealing with chipped or broken surfaces, don’t let it become a bigger issue. Explore practical ways to handle and prevent damage to your concrete blocks to keep your structures looking and performing their best. Mr. Pavers is here to assist with supplies and know-how tailored for lasting solutions.