Enhancing Plant Growth With Proper Mulch Application
Mulch isn’t just something you throw down for looks. It plays a big role in helping plants grow stronger, stay hydrated longer, and keep weed problems under control. A well-mulched garden holds moisture better, which means less stress on your plants and less work for you. It also helps control soil temperature and keeps those dry spells from drying everything out. If you’ve ever walked past a lush garden and wondered why it looked so tidy and healthy, mulch was probably doing a lot of the hidden work.
Getting good results, though, isn’t just about adding any mulch to your garden beds. It comes down to what kind of mulch you use and how you apply it. When the right mulch is layered well, roots stay cooler in the summer, soil stays moist between watering, and weeds don’t stand a chance. The key is knowing which mulch works best where and how to spread it so your plants benefit the most. Smooth application and steady upkeep make all the difference.
Good mulch is just one part of the equation. Using dependable mason supplies helps keep everything in place and makes your gardening job easier. Picking quality materials from the start means less hassle over time and a better-looking outdoor space.
Types of Mulch for Different Plants
Not all mulch is the same, and using the wrong type in the wrong spot can cause more problems than it solves. Choosing the right kind depends on what you’re growing and what your garden looks like overall. Some materials feed the soil as they break down. Others are better for keeping things neat and dry.
Here’s a breakdown of common mulch types and when to use each:
– Organic Mulch
This kind of mulch includes natural materials that slowly decompose and enrich your soil over time.
– Wood chips or bark: Great around trees, shrubs, and perennial beds. They stay put and give a neat look, but take a while to break down.
– Straw: Good for vegetable gardens. It keeps the ground moist and gives tender plants a softer base.
– Compost: Best for flower beds and food gardens. It adds nutrients to the soil while also acting as mulch.
– Inorganic Mulch
These options don’t break down and are better when you want to avoid constant mulching.
– Gravel: Works well in dry zones, pathways, and roots that don’t like wet feet.
– Plastic sheeting: Mostly used on larger scale farms. In a home setting, it can trap too much heat and moisture if not ventilated well.
– Landscape fabric: Stops weeds from growing while still allowing water through. It pairs well under decorative rock or bark mulch.
Match the mulch type to the needs of your plants and the way your space works. For example, if you have a raised vegetable bed, straw or compost can help feed your crops while keeping moisture in. On the other hand, a cactus garden might do better with gravel to support drainage and resist rot.
Understanding this match-up sets you up for a healthier garden and fewer problems later. It also helps lock down the look you’re going for.
Best Practices for Mulch Application
Laying mulch the right way matters just as much as picking the right kind. If it’s spread too thick or piled too close to stems, mulch can do damage. That’s why a few simple practices can go a long way.
Here are some tips for applying mulch the right way:
1. Clear the Area First
Take time to remove weeds, grass, and any debris. Mulching over a messy surface isn’t helpful.
2. Check the Thickness
– For organic mulch: aim for a 2 to 3-inch-thick layer. Thinner layers don’t do much, while thicker ones can suffocate roots or trap too much moisture.
– For gravel or rock mulch: stick to about 1 to 2 inches. Too much stone makes it hard for water and air to reach the soil.
3. Leave Some Breathing Room
Don’t mound mulch up against plant stems or tree trunks. Leave an inch or two of space to avoid rot and give plants room to grow.
4. Smooth It Out
Use a rake or gloved hands to even things out. Uneven patches can lead to pooling water in some areas and dry spots in others.
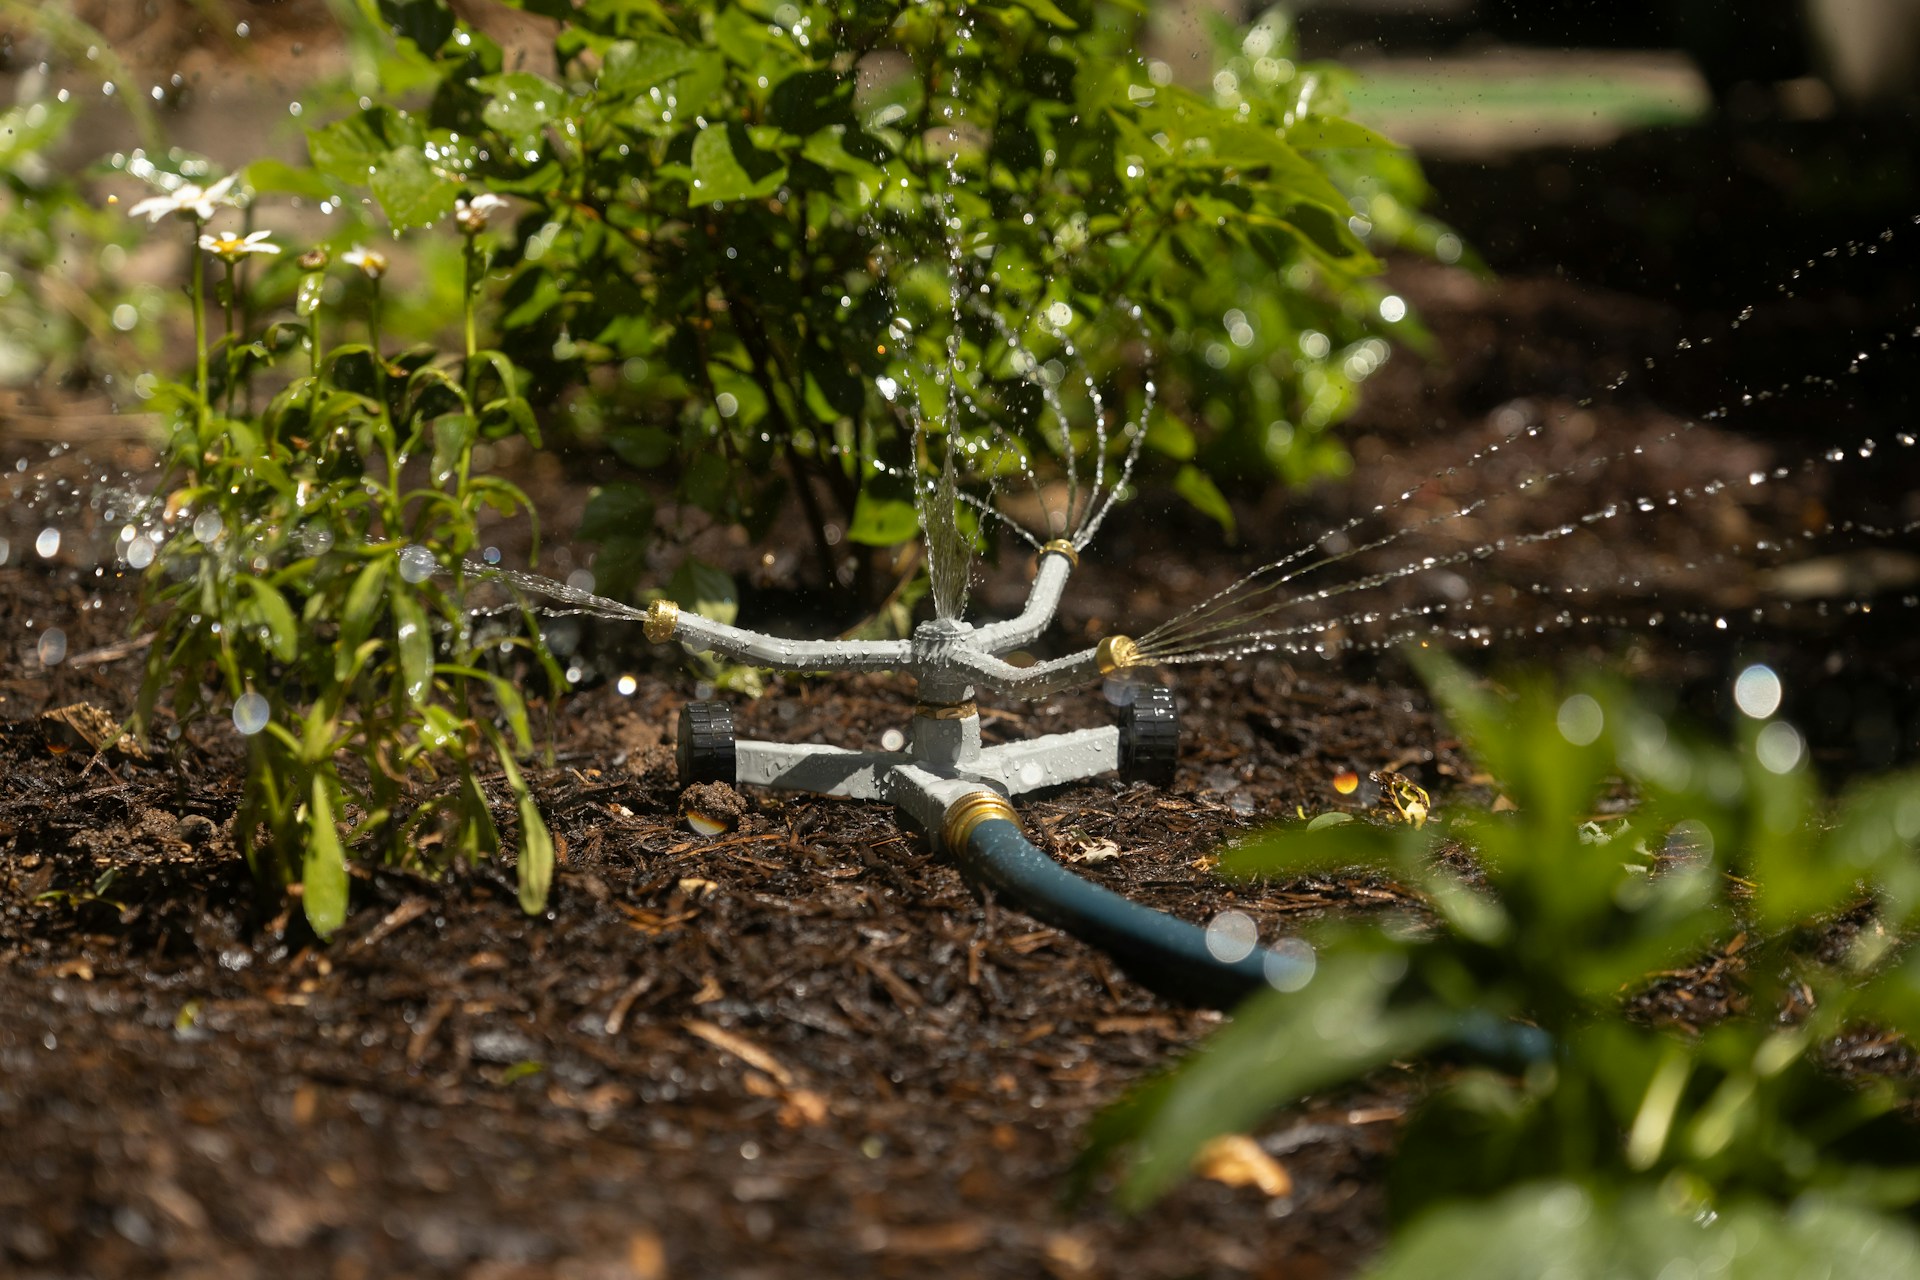
5. Watch Moisture and Drainage
Before mulching, make sure your soil drains well. Mulch holds moisture in, but if the ground underneath stays too wet, root rot can set in.
Spending a little extra time on these steps helps make sure your mulch does what it’s supposed to do. You’ll notice stronger growth, cleaner beds, and less time spent weeding or watering.
Seasonal Considerations for Mulching
Mulching isn’t a one-time job. It requires tweaks based on the seasons to help your garden stay healthy. With changes in weather, different mulching needs come into play.
When summer heat kicks in, mulching can keep your plants from getting thirsty too quick. A good mulch layer helps lock in soil moisture, reducing how often you need to water. That not only saves you time but also lets your plants thrive with less stress. Just remember to keep the thickness around 2 to 3 inches to let the roots breathe while holding in moisture.
As fall rolls in, leaves begin to drop, and temperatures start to fall too. This is a great time to switch up your mulch, using organic material that can break down over winter. Organic mulch helps insulate roots against the cold and composts into the soil, enriching it naturally. By the time spring arrives, the soil will be nutrient-rich and ready to support new growth.
For winter, even though it might sound surprising, mulch still plays a big role. Use it to offer an extra layer of protection against frost, guarding those delicate root systems. The goal is to keep the soil temperature steady, avoiding the freeze-thaw cycle that can harm plants. Think of it like giving your garden a warm coat until the warmer months return.
Maintenance and Care for Mulched Areas
Keeping your mulch in top shape takes a bit of upkeep. But it’s worth it to make sure your plants get all the benefits mulch provides.
Over time, mulch can compact, break down, or blow away in heavy wind. That’s why it’s smart to revisit your mulched areas now and then. A quick check helps you catch problems early and fix them without much trouble.
Here’s a simple list to keep your mulch areas looking great:
1. Inspect and Refresh Regularly
– Check mulch condition and depth, aiming to maintain a 2 to 3 inch layer.
– Add more mulch if it has broken down too much or thinned out due to weather.
2. Control Weeds
– If weeds do pop up, pull them right away before they can take hold.
– Consider adding a weed barrier fabric beneath mulch for added protection.
3. Monitor for Pests and Diseases
– Look for any signs of pests, like holes or gnaw marks.
– Keep an eye out for mildew or fungi, especially in wet conditions.
4. Use Quality Supplies
– Invest in good, long-lasting mulch to save on frequent replacements.
– Choose the type that suits your plant needs and your local growing conditions.
Simple upkeep like this pays off quickly. When you maintain your mulch beds, you’re also protecting your plant investments and helping your garden stay in great shape throughout the year.
Reaping the Benefits of Proper Mulching
Proper mulch application gives your plants a solid foundation to grow strong and stay healthy. A little care in how you pick, place, and manage mulch makes a big difference over time.
Mulch not only cleans up the look of your garden beds but also slows weed growth, keeps moisture in the soil, and shields roots from harsh weather. It works behind the scenes to support a stress-free environment where plants can grow at their best.
When you walk through your garden and see vibrant flowers, happy vegetables, and neat rows of greenery, know that mulch likely had a big hand in making that happen. The right mulch, combined with reliable mason supplies, forms a smart plan for any outdoor space to thrive across the seasons.
Transform your garden into a thriving oasis with the right mulch techniques. Whether you need to conserve moisture or shield roots from extreme temperatures, understanding seasonal mulching makes a big difference. For the best results, pair quality mulch with mason supplies that support lasting performance and durability. Explore dependable options at Mr. Pavers to make your next outdoor project a success.